Pull-based Deployment at Find a Player
Most startups care a lot about scalability. Find a player is no different. A lot of people have asked me how I went about designing Find a Player’s deployment system, so I thought I’d document it here at a high level.
Background
Before we embarked on this project, we were using ansible to handle push-based deployments to multiple servers. However, when we looked into using an autoscaler in AWS to handle traffic spikes, we realised that a push-based deployment no longer makes sense as it requires an external widget to run the deploy on a server if it is spawned. It became very clear that it made much more sense to have the spawned server itself run the deploy locally on itself.
We looked at many ways of doing this including running ansible locally on the machine, but it became clear that provisioning speed would also be a priority - the server should be able to respond to health checks as quickly as possible in order to share the load as soon as possible.
So we settled on doing the “building” in advance, using Jenkins to build packages, and deploying the code using apt.
Building Debian Packages with pkgr
Our backend is a ruby project, and so we wanted to be able to deploy and manage our backend in a similar fashion to heroku at some level. Pkgr allowed us to build debian packages from our code, but it also gave us a handy executable we could use to set configuration and scale - heroku style.
Infrastructure configuration management with Terraform
We spent a significant amount of time building out the server infrastructure configuration using Terraform. Terraform allows you to define - in code - how your servers and services across multiple providers are wired up together.
Terraform allowed us to simply and easily audit how the system is connected together, as well as making it easy to make changes to infrastructure.
We used terraform for everything infrastructure related, but the most important part of what we did for this article is that we implemented the autoscaler, elastic load balancer and Launch configuration in terraform. This allowed us to easily define things like which policies should be associated with newly spawned servers.
We took advantage of this ability to associate reading from S3 with all of our EC2 servers. This gave us the ability to pull data (including our private packages) down from S3 using AWS’s meta-data server to authenticate.
Aptly and apt-transport-s3 to provide a private apt repository
Aptly allowed us to deploy our debian packages to Amazon S3. This enabled each of our nodes to pull in the latest debian package from S3.
The apt-transport-s3 plugin provided us the means to pull down debian packages directly from S3, automatically picking up the S3 credentials from AWS’s metadata server that we’ve given EC2 via the policy.
User-data to Install from apt
One of Amazon EC2’s more under used features is something called user-data.
User-data is a script (or scripts) which explains to the server how to configure
itself before marking itself as online and ready to be added to the connection
pool. We took advantage of this to install apt-transport-s3 and the private
Apt repository, upgrade the system and install our app on first boot-up. We also
used this to set a cron job to periodically check for updates to our app every
minute.
Slack and AWS SNS, and AWS Lambda for scale notifications
Our Terraform config included a directive to build up an AWS Lambda instance which receives events from an SNS pipe and forwards the message (nicely formatted) to Slack.
In more detail: AWS’s autoscaler relies on AWS Cloudwatch to monitor servers and detect when they’re stressed. When they are stressed Cloudwatch will send out a message which the autoscaler subscribes to and interprets. Our AWS Lambda instance subscribes to the same pipe and converts the messages that are sent down it into a slack message. The result is a nice message in our slack channel notifying us of an autoscale event, as well as the reason it happened:
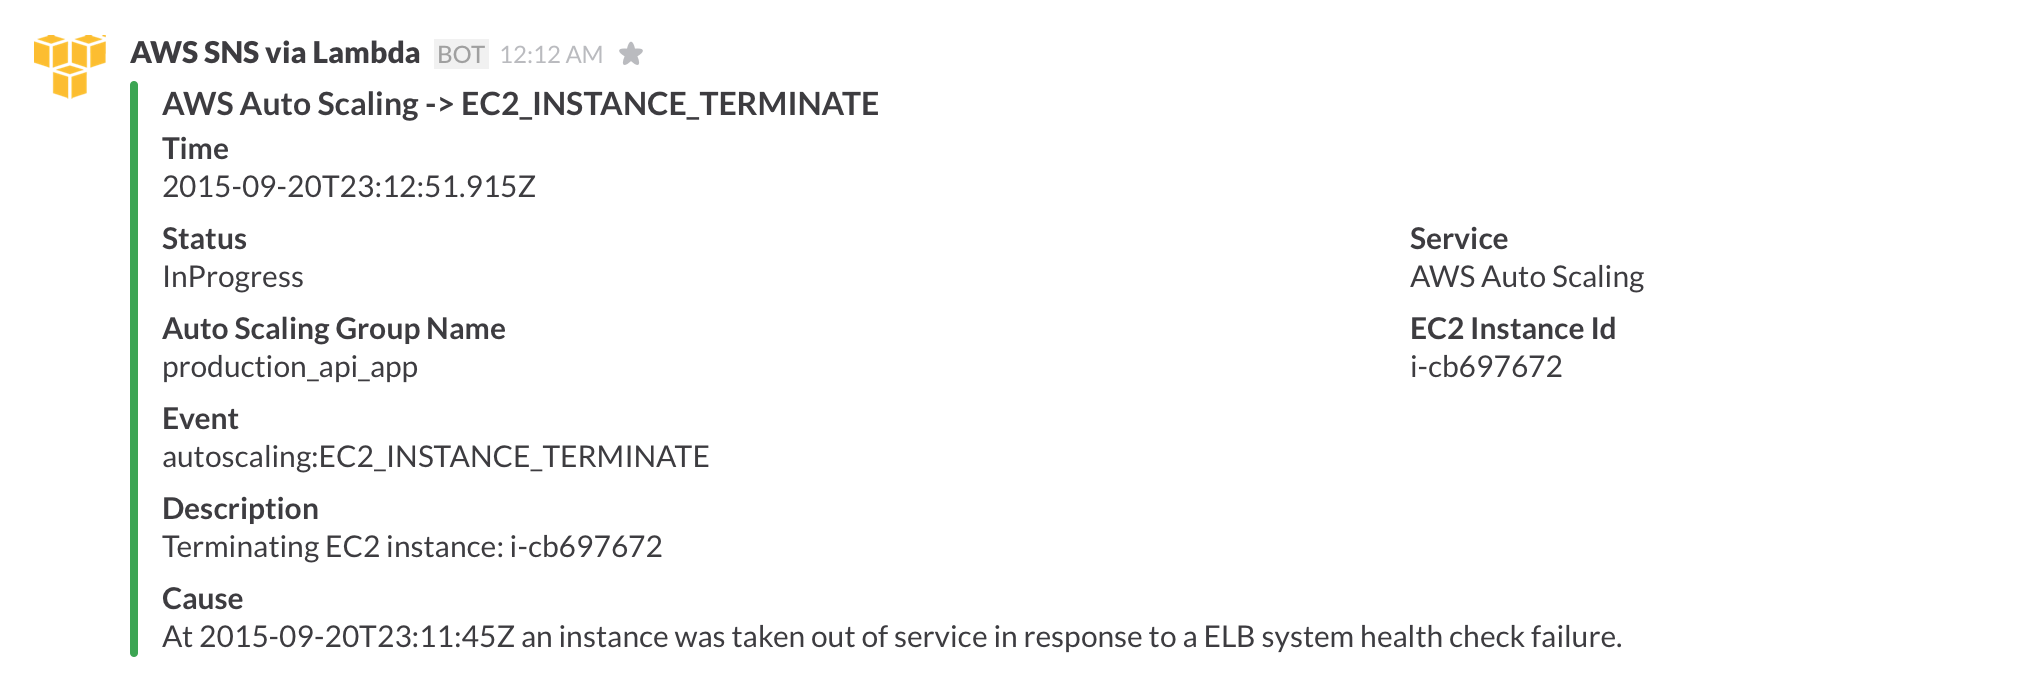
Jenkins to trigger tests & builds, and wrap the whole thing together.
Jenkins is used a lot for our build and deployment mechanism. We’ve used Jenkins to test our code, and if it passes, it will then trigger various other jobs depending on circumstances. Our current build pipeline is:
- Someone pushes to master
- Jenkins is notified through a webhook and starts testing the code
- If the tests pass, this triggers a debian package build, which is sent to the staging repository
- Staging servers will pick up the update and install it automatically
Deployments to the production repository are triggered in Jenkins manually - we could create a slack command for that later if this becomes a bottleneck.
We make use of lots of Jenkins plugins to provide this behaviour, including:
Workflow Plugin
This is how we run debian package builds
Bitbucket OAuth Plugin
For company-wide logins
Slack Notification Plugin
So developers are notified when changes happen
Flexible Publish Plugin
Flexible Publish Plugin allows us to qualify whether the a build should happen if tests passed.